- Phillips Head Screwdriver
That’s all that’s required to complete a base assembly, and our kits are designed to be used without any gluing or clamping, however, if you’d like to glue your case together to make it slightly stronger, you’ll need a few more pieces:
- Cotton Swab(s)
- Paper Towel
- Wood Glue of Choice
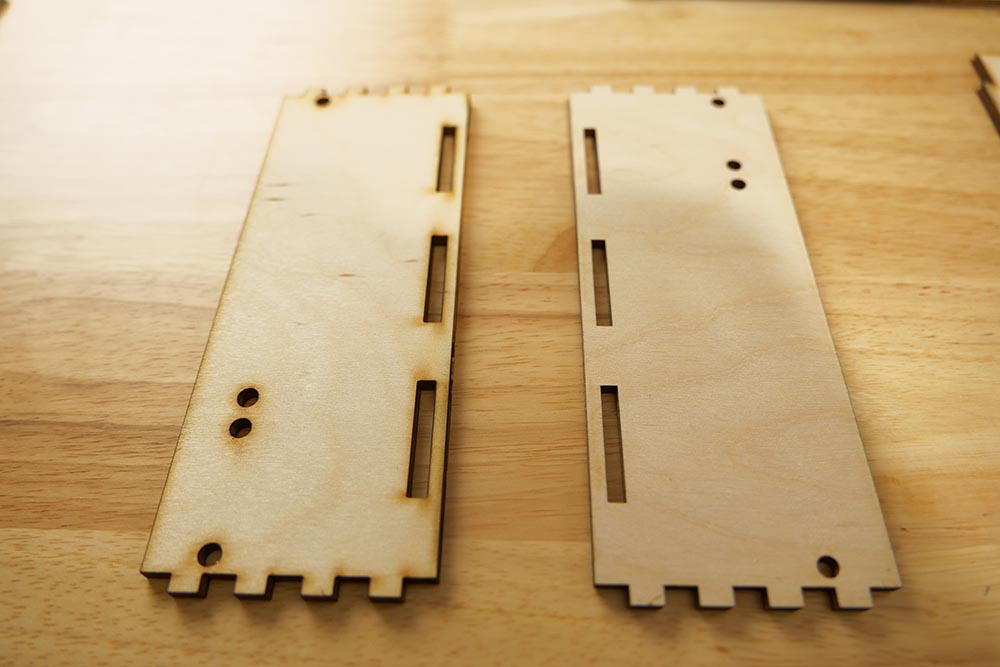
Our wood panels are laser cut to be as precise as possible, but the laser process can leave heat stains and marks on one side of the wood. In Figure 1, you can see the heat stained side on the left, and the flip side on the right. While the case will ultimately work either way, we recommend facing the heat stained side inwards, so the outside of the case isn’t tarnished by these stains.
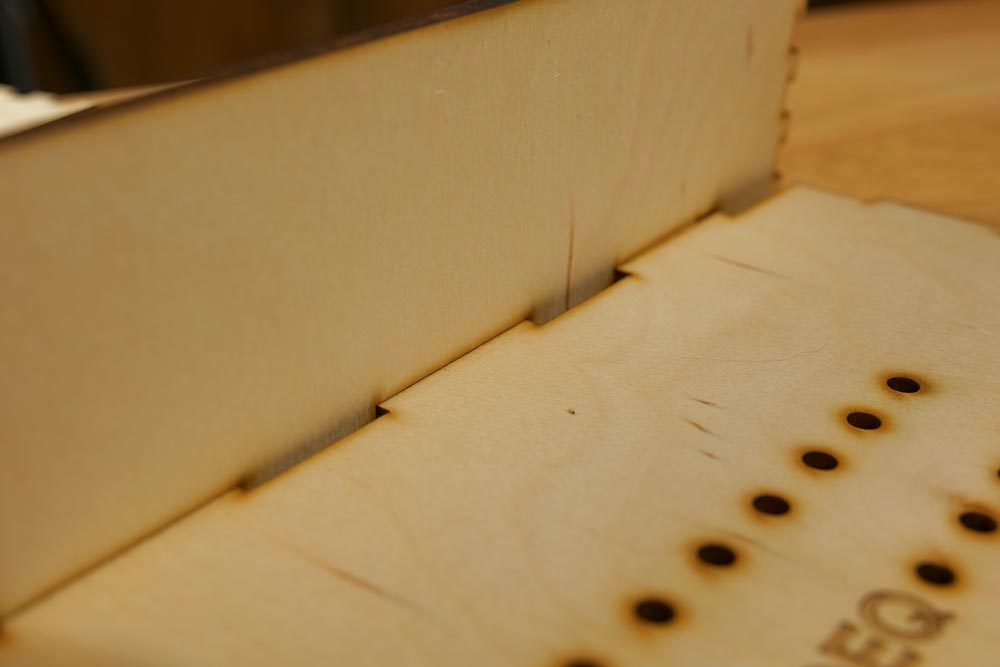
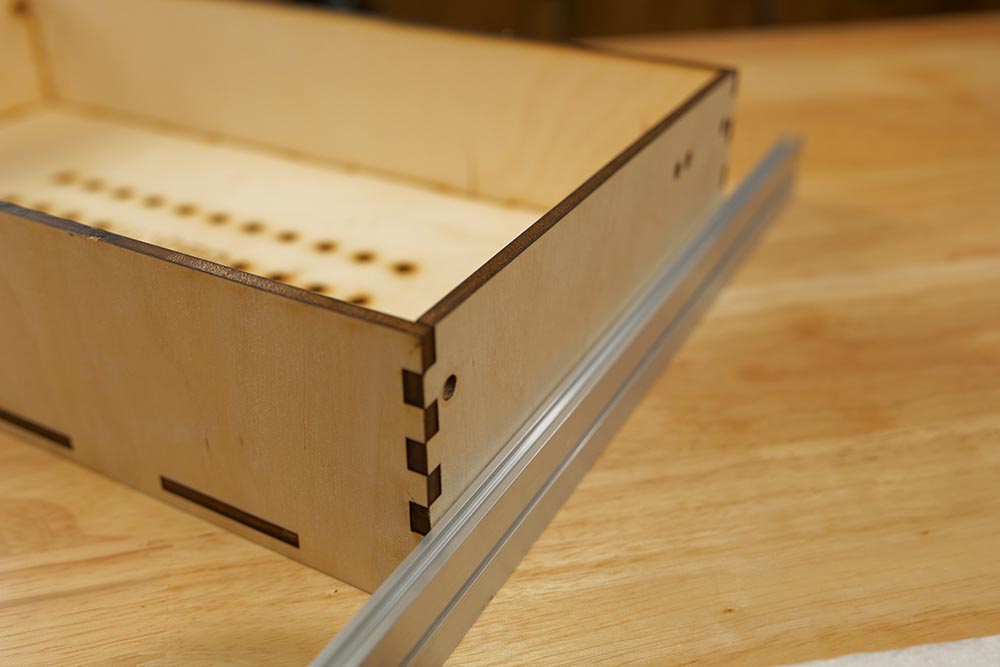
Place the bottom piece on a flat surface, with the logo facing inwards (once again, your choice, but we think it looks nicer this way). Take one of the short sides, and line up the first notch with one of the holes along the bottom. Press firmly together, and work your way up the three notches until there is no visible gap.
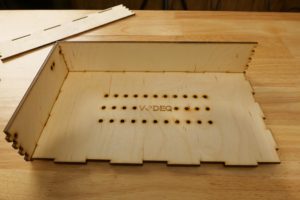
Align the longer sides (one at a time) with the notches on the case bottom, and then using the rails as a flat surface, push the finger joint together (for gluing instructions, see the end of this article). This prevents the birch veneer from peeling off the plywood.

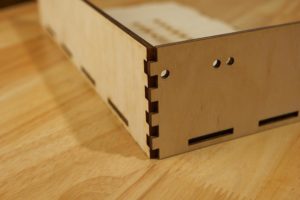
Line the final piece up with the end, and starting with one corner, press the finger joints together (using the rail technique in step 2). Work your way along the bottom notches, and press the final corner together using the same method. Finally, use two spare rails to provide even pressure on each side of the box, to make sure the side panels are snug with the base.
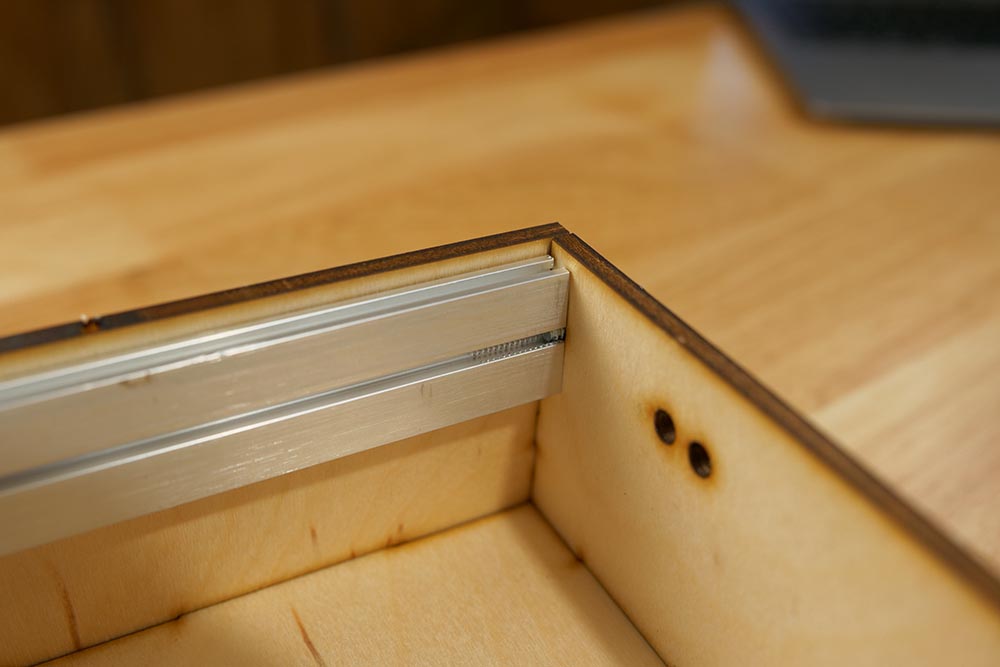
For each rail, first make sure you have installed any sliding nuts or nut strips BEFORE placing the rail in the case.
Line up the middle groove with the holes on the side of the case, and using the included 10-24 machine screws, gently screw them in (not all the way tight yet, leave a few millimeters on each screw). You may have to slightly push the sides of the case out to get the rail positioned, but they will be pulled back tight once the screws are tightened.
This is extremely important. For each rail set in your case (1U and 3U), the rails should face in towards the module. That means the outer rails should have the middle opening facing inwards, and the rails in the middle should have the flush sides of the rails back to back.

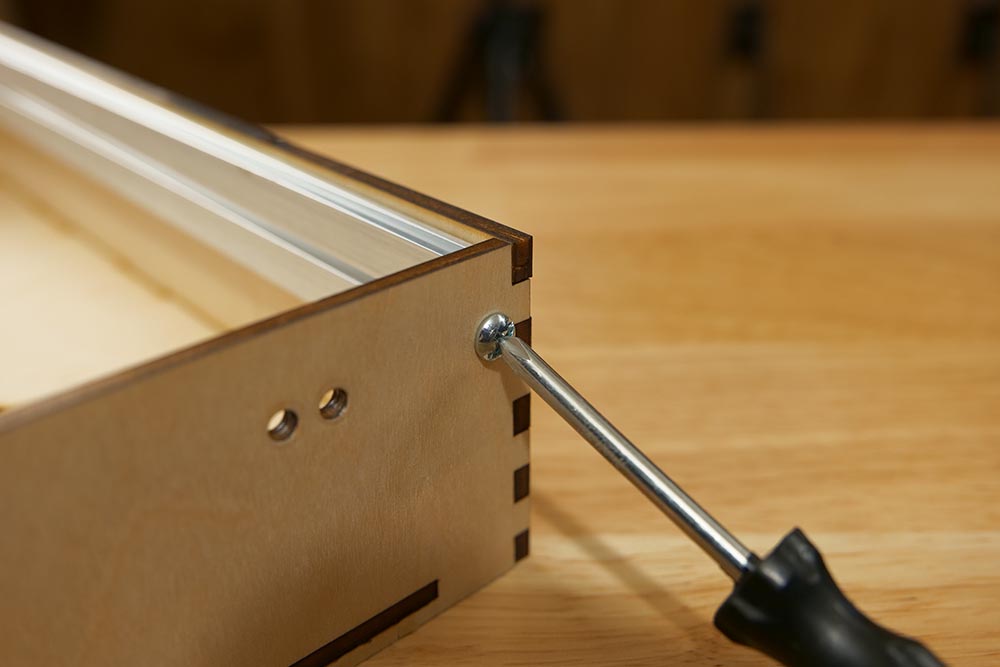
Finally, tighten each rail with a hand screwdriver. An electric screwdriver will work as well, but doing it by hand allows you to gauge the tension on the rails to prevent stripping, which while very difficult, is not impossible.
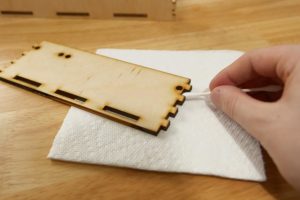
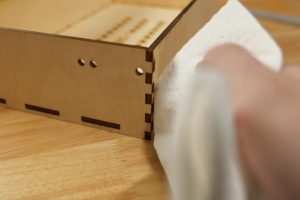
If you’d like to apply glue, please follow these simple instructions. Pour out a small dollop of your favorite wood glue onto a paper towel or small dish, and using a cotton swab, apply a thin layer to both sides of the finger joints. The bottom panel does not need to be glued in. Gently press together, and immediately wipe away the excess with a paper towel. Install the rails as normal, and tighten them down to keep everything in place during the drying process. Before letting cure, take a paper towel to each corner to make sure any glue that was pushed out when tightening the rails is cleaned up.