Getting Started
At the core of every Eurorack system lie two crucial components: the power supply and the case. Today, I want to run through everything you need to know about Eurorack cases, whether you’re building one yourself or buying one straight off the shelf.
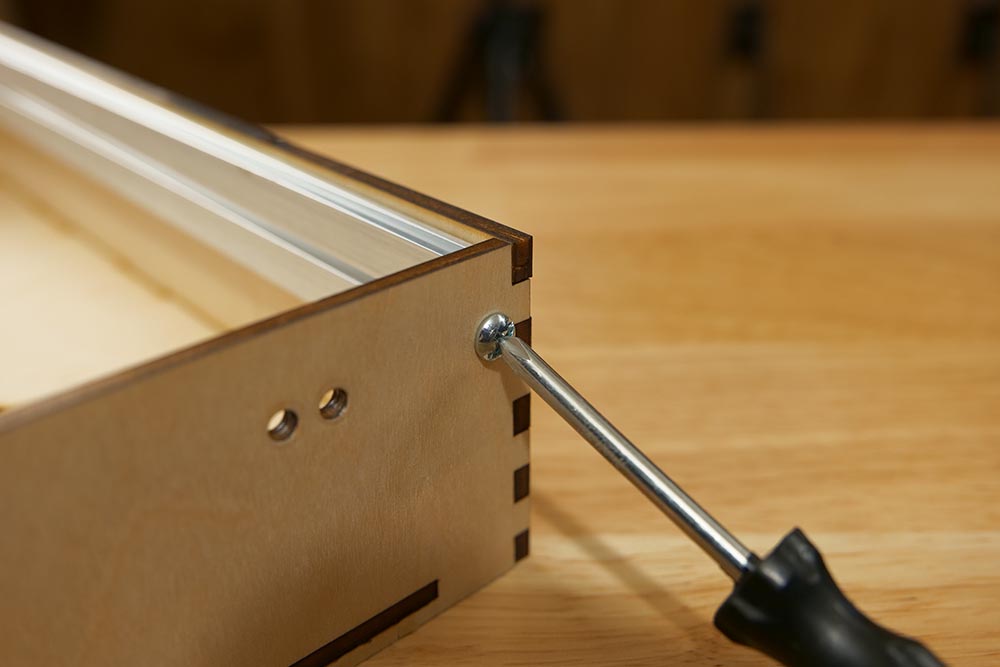
So what’s the deal with rails?
At the core, every case features one fundamental component: rails. In the vast majority of cases, these rails will be built out of some sort of extruded aluminum or other metal. Durable, reliable, and easy to use/fasten modules to. In some more niche, DIY cases you might see wooden rails pop up occasionally, but typically these can suffer from more warping and inconsistencies. When it comes to aluminum rails, the nuts and spacing they’re designed for often varies from manufacturer to manufacturer. Therefore, we typically suggest sticking with the recommended (or equivalent) hardware to accompany your new rails.
When shopping around for cases (or rails), you’ll typically see them measured by their width in HP (short for horizontal pitch). Similarly, modules almost always have a width associated with them, which you can usually filter by on most Eurorack websites. One HP is equal to exactly 0.2 inches, or 5.08 millimeters.
In Eurorack cases, the standard widths you’ll see are 60, 84, 104, 110, 126, and 168 HP, illustrated by the graph below.

Module Sizes
After you’ve decided on what width to go with (our personal favorite is 84HP for a nice blend of portability and capacity), you have to decide how you’re going to space them. In Eurorack, your two primary widths are 3u and 1u (with one “u” being equal to 1.75 inches). The majority of modules on the market are designed for 3u cases, but many brands make a variety of utility and smaller modules for the 1u form factor. On the left below, we have a typical 3u module, and on the right a 1u module, just to illustrate how the sizes differ.

Our personal favorite case combinations include one to two rows of 3u spaces combined with a 1u row for smaller utility modules.
Everything About Nuts
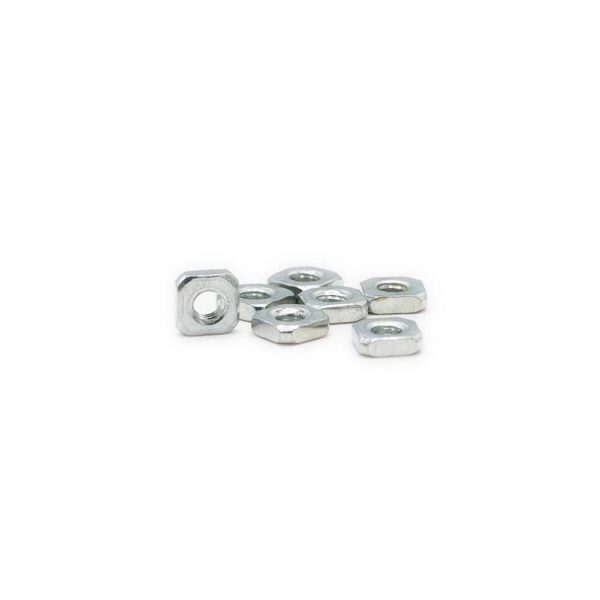
Fastening your modules safely to your case is the second step towards assembling your case system. When it comes to mounting hardware, you have two primary options: sliding nuts and threaded strips. Sliding nuts (like the ones pictured to the left) fit freely within the rails and slide back and forth, to allow modules to be positioned freely according to your needs.
Conversely, threaded strips such as these from Perfect Circuit slide straight down the groove in your rack rails, sporting threaded holes every few millimeters. Modules can be more easily affixed to these inserts, but do not offer quite the flexibility of sliding nuts.
For nuts and strips, you’ll typically see them with either M2.5 or M3 size threaded holes. To avoid having too tight of a fit in your rails, make sure to check what size nut/strip they are designed for, and purchase accompanying screws and washers. If you purchase our custom rails, for example, they are built for M2.5 threaded nuts and strips, under the DIN562 specification.
Rail Spacing
This portion really only applies to those looking to make their own cases, as pre-made cases and kits will come with either predrilled holes in the proper locations or fastening brackets to attach rails. While there are some competing standards, we recommend looking at the Doepfer datasheet; while it’s not completely perfect, it’s a great starting point. In our experience, if you’re just drilling a case for yourself, the easiest way to make things line up properly is by fastening modules to use as spacers in the rails before installing them – just be careful drilling to make sure you don’t hit any of your precious Eurorack modules. For 1u specifications, try referencing Intellijel’s specification sheet. One of the hardest parts of spacing comes down to the rails, and where the positioning of the screws lies relative to the center point of the groove for the nuts.

The Final Piece: Power
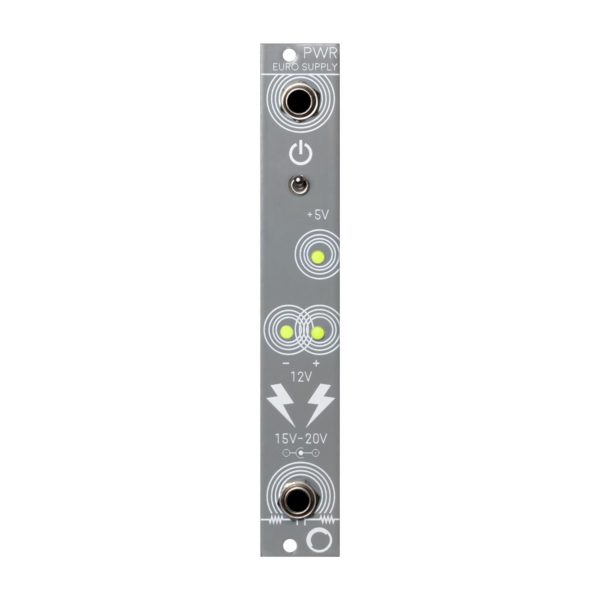
Ah, now we get to the good stuff: powering your new synthesizer. Many higher end kits on the market offer included power supplies, but in the DIY space, you’re going to usually be on your own when it comes to finding some power. Luckily, there are a few options. A few companies offer a Eurorack module with power outputs on the rear, such as the Electrosmith PWR module (pictured to the left), but most power solutions are designed to be mounted within the chassis. We have an extensive article on Eurorack power supplies over here, if you’d like to dive in a little deeper, but if you’re building your own case, just keep in mind that hiding your power switch within your case makes it much more painful to operate once you’re done. Therefore, we recommend adding a hole or two in the side of your case to fit both a standard DC jack and power switch.